
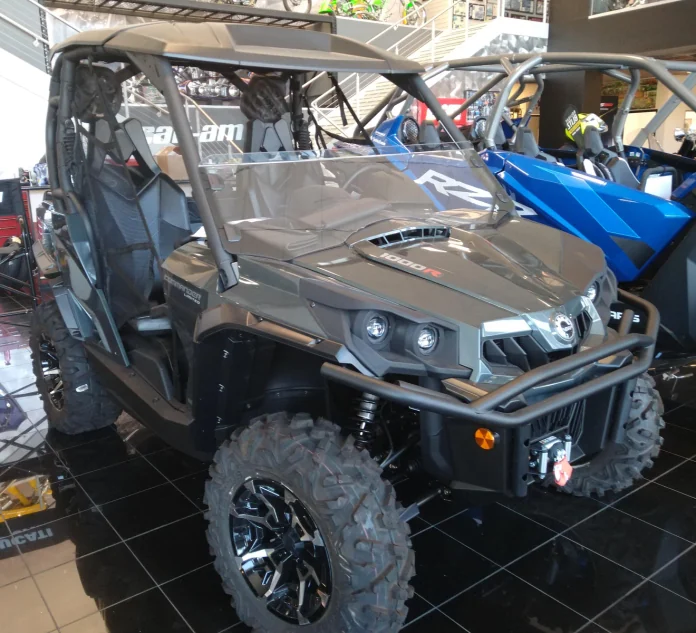
Featured reference photograph: 2021 Can-Am Commander XT 1000R; archival reference photograph. It illustrates the vehicle family or accessory context, not the exact current trim or an independently tested installation. DestinationFearFan / Wikimedia Commons / CC BY-SA 4.0. Resized and converted to WebP; photograph remains under its stated license.
Clean a polycarbonate UTV windshield using the instructions for its exact panel and coating, and remove loose grit before wiping. A transparent surface is not necessarily glass, and a hard coating does not make every cleaner, polish or wiper safe.
As a specific manufacturer example, Polaris’s hard-coat poly windshield 2879489 lists mild soap and water with a soft microfiber cloth and advises against ammonia-based cleaners. That gives a documented approach for that product; another panel’s instructions may impose additional restrictions.
First determine what is actually installed
Find the windshield brand and part number in the purchase record, installation instructions or product label. Confirm whether it is uncoated polycarbonate, hard-coated polycarbonate, acrylic or glass. Do not identify material solely from appearance or a seller’s generic “clear windshield” description.
If the coating is unknown, ask the manufacturer for care instructions before applying a chemical. Advice for bare plastic, a motorcycle screen or household glazing may not apply to a coated UTV panel. Do not remove a coating deliberately to make an unsuitable repair method work.
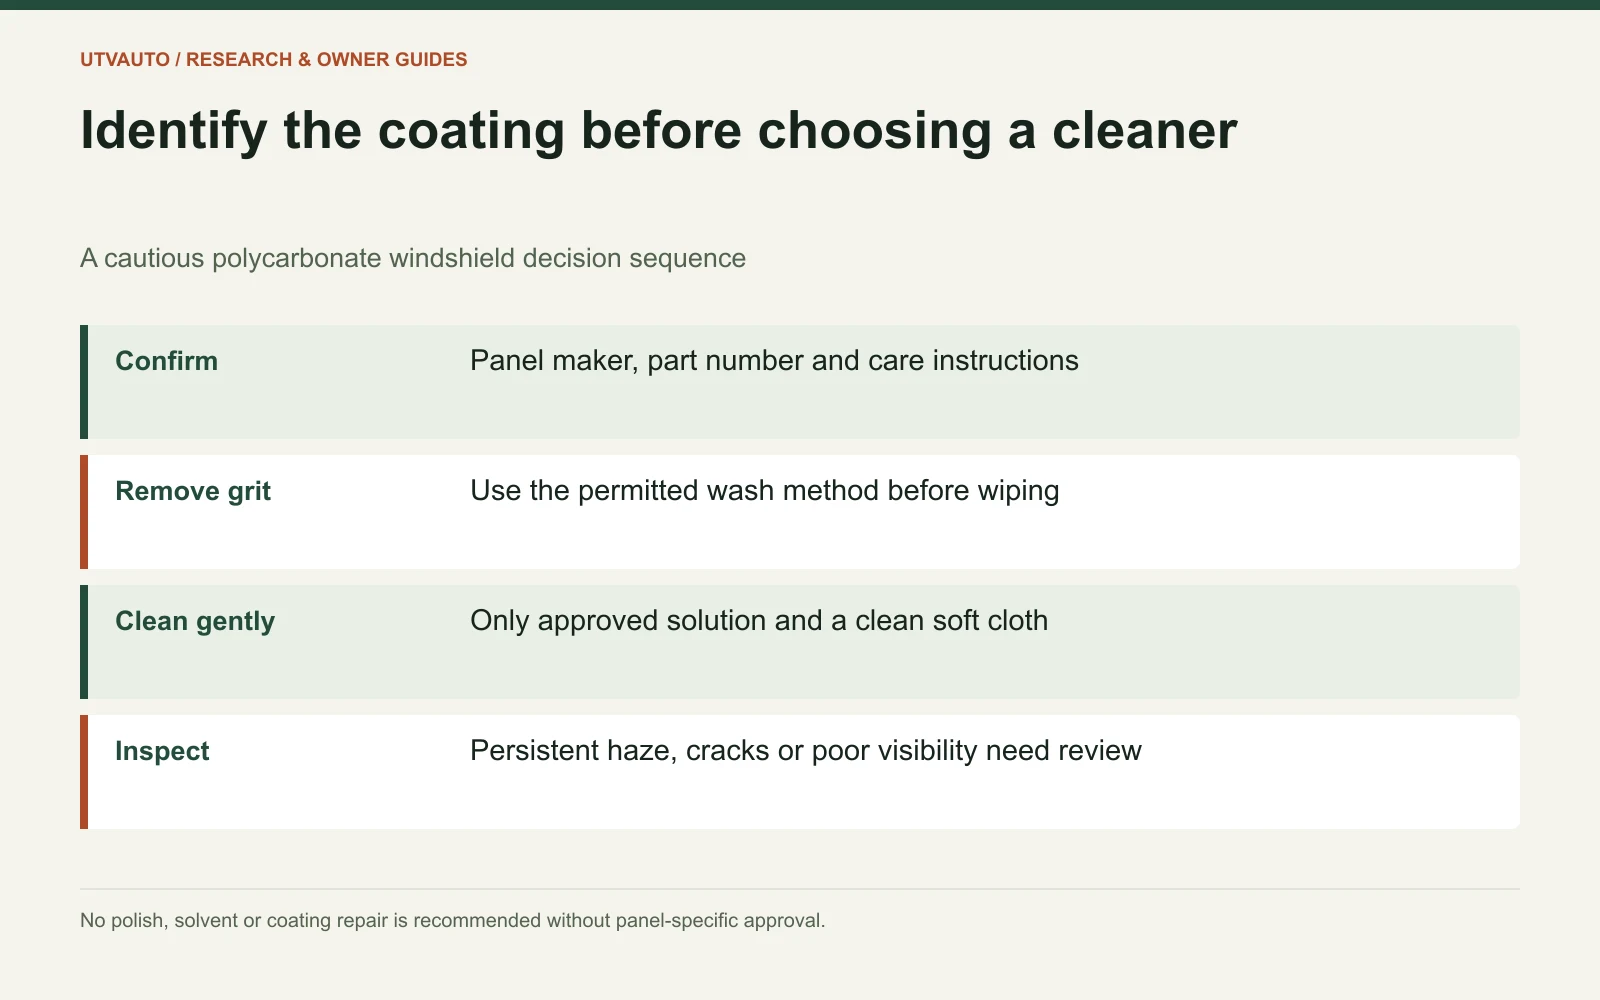
A conservative cleaning sequence
- Park and prepare. Make the vehicle stationary and follow the accessory’s care conditions. Gather clean water, the approved solution and clean soft cloths reserved for the viewing surface.
- Remove loose grit with the permitted wash method. Do not start by rubbing a dusty or muddy panel with a dry towel.
- Use only the approved cleaner and technique. If the instructions permit mild soap and water, keep the cloth clean and use light contact rather than grinding contamination into the surface.
- Rinse and dry as directed. Avoid leaving cleaner residue or using a dirty cloth from wheels or bodywork.
- Inspect from the driving position. Check that the view is clear before using the vehicle.
This is a cautious decision sequence, not a replacement for product-specific directions on temperature, pressure, drying or stubborn contamination. The pressure-washing guide also distinguishes cleaning the vehicle body from exposing sensitive parts or accessories.
Do not escalate from dirt removal to improvised repair
| What remains after permitted cleaning | Next step | Avoid |
|---|---|---|
| Ordinary dirt or residue | Repeat only the approved method with clean materials | More pressure with a gritty cloth |
| Unknown stain, sap or chemical mark | Ask the panel maker for a compatible treatment | Trying household solvents one after another |
| Fine scratches or persistent haze | Confirm whether the coating permits any restoration method | Assuming automotive polish is safe for all hard coats |
| Cracks, crazing or unsafe visibility | Stop use and obtain manufacturer/qualified assessment | Treating visual improvement as proof of structural repair |
A windshield that looks clearer when wet may still have permanent surface damage. We have not tested polishing products or established a repair threshold for this panel. A coating-safe recommendation needs the actual manufacturer’s approval, not a universal internet recipe.
Look at the cause of repeated scratching
Check how the panel is cleaned and stored. A towel used on muddy bodywork, an abrasive deposit left under a blade or a removed panel resting against grit can reintroduce contamination. Follow approved storage and wiper practices rather than replacing the cleaning chemical alone.
When a wiper is fitted, verify that the panel and blade are an approved combination. “Wiper-ready” on a different windshield does not establish compatibility here. See wiper compatibility checks.
When replacement is the better purchase to investigate
If the maker cannot approve a restoration method, or damage leaves visibility unsafe, investigate a replacement that fits the whole cab. Record the roof, mirrors and wiper requirements so the new panel does not create another compatibility problem.
The windshield research center connects care with material selection, documented RANGER applications and dust-related cab decisions.
Editorial collection: September 2026. This is a topic collection label, not a backdated first-publication date.