
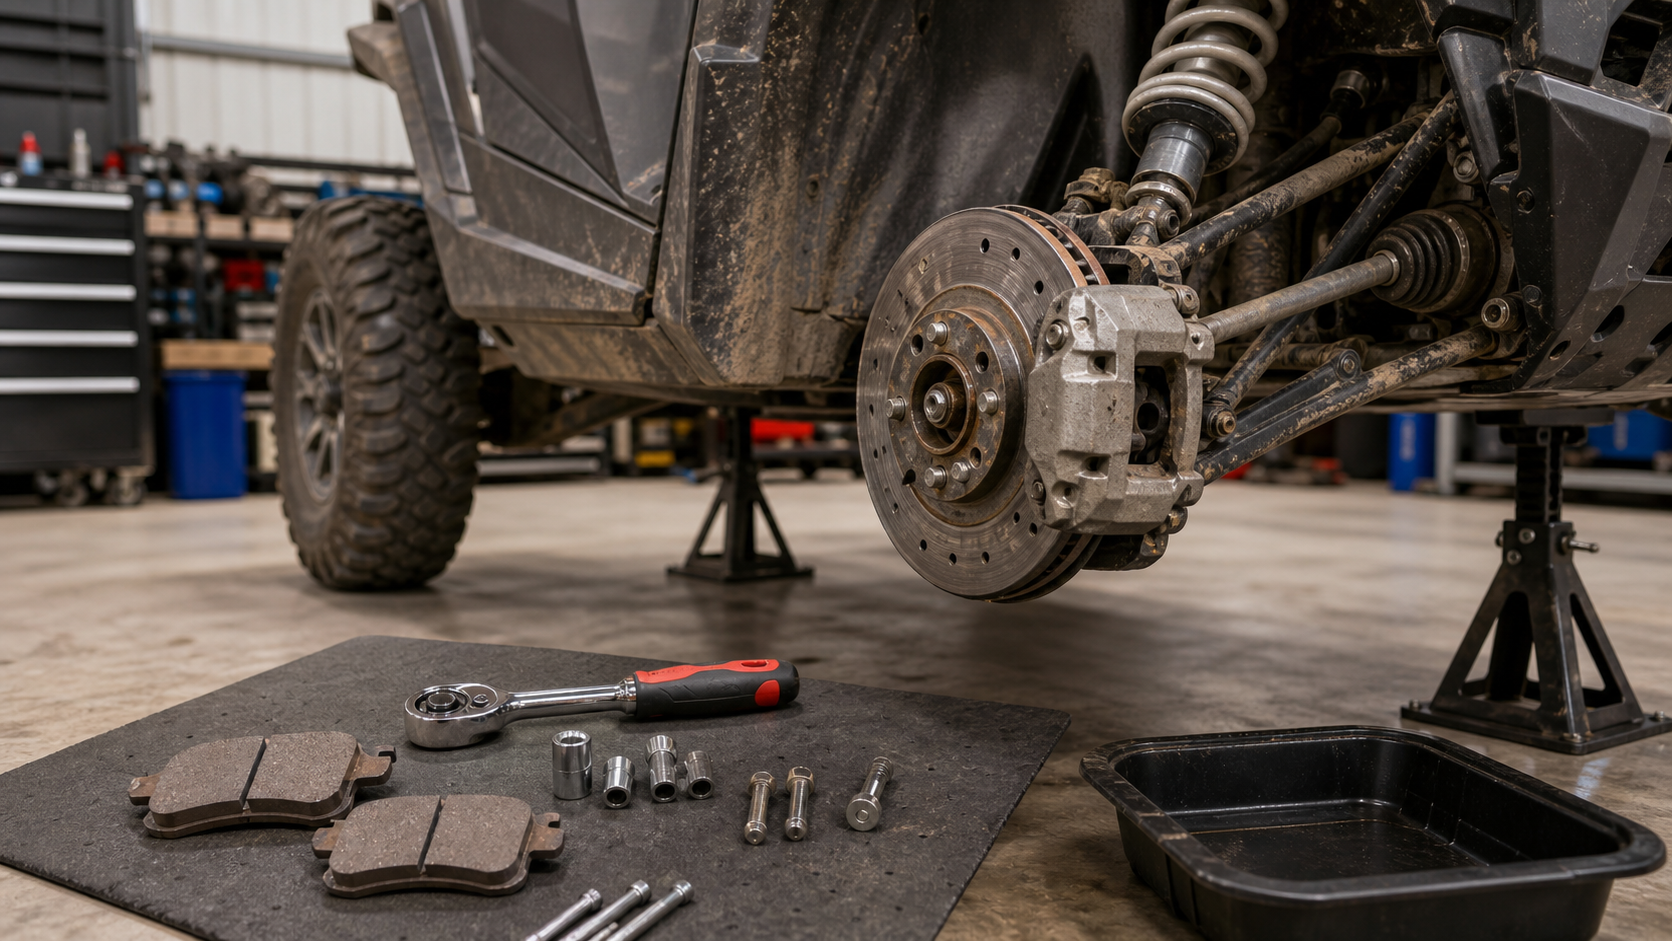
UTV brake pad replacement is usually a straightforward maintenance job, but the safe answer is to follow the service manual for your exact model. Use this guide as a checklist for planning the job, spotting common mistakes, and knowing when to stop and involve a qualified technician.
Tools and Parts Checklist
| Item | Why it matters |
|---|---|
| Correct pads | Fitment changes by model year, trim, and caliper |
| Jack and stands | Keeps the machine stable while wheels are off |
| Torque wrench | Prevents loose or over-tightened wheel hardware |
| Brake cleaner | Removes dust and contamination |
| Service manual | Provides torque specs, service limits, and procedure details |
Basic Replacement Flow
Park on level ground, set the parking brake if appropriate, and chock the wheels. Lift only at approved points and support the UTV securely. Remove the wheel, inspect the caliper and rotor, then remove pads according to the service manual. Clean contact points, install the new pads, reinstall hardware, and torque wheel fasteners correctly.
- Do not press the brake pedal with the caliper removed unless the manual calls for it.
- Do not let the caliper hang by the brake hose.
- Do not contaminate pad friction material with grease or oil.
- Do not ignore uneven pad wear; it can point to stuck slides or caliper issues.
- Test brakes at low speed before riding normally.
Bedding New Pads
Bedding transfers a controlled layer of material to the rotor and helps the pad work consistently. Procedures vary, but most involve a series of moderate stops with cooling time. Avoid panic stops immediately after installation unless safety requires it.
When DIY Is Not The Right Call
Stop and get help if the brake pedal sinks, fluid is leaking, bleeder screws are damaged, rotor hardware is questionable, or you are unsure about torque specs. Brakes are a safety system, not a place for guessing.
For buying decisions, start with our UTV tire guide and brake pad buying guide. Add the pre-ride checklist to your routine after the repair.
FAQ
How long do UTV brake pads last?
There is no universal interval. Mud, hills, towing, driver style, and pad compound can change wear dramatically. Inspect regularly and follow the service manual.
Do I need to bleed brakes after pad replacement?
Not always. Bleeding is needed if the hydraulic system was opened, fluid is old, air entered the system, or pedal feel is poor.
Why are my new UTV brakes noisy?
Possible causes include pad compound, poor bedding, contaminated rotors, glazed pads, worn hardware, or rotor damage.
Useful Sources
Pre-Repair Inspection
Before removing hardware, look at the whole corner of the vehicle. Uneven pad wear can point to a stuck caliper slide, bent bracket, contaminated rotor, or a wheel bearing issue. If one pad is worn much faster than the other, replacing pads alone may hide the real problem for a short time but will not fix it.
Also inspect the brake hose routing, parking brake mechanism if equipped, rotor surface, and wheel fasteners. Take photos before disassembly so clips and pad orientation are easy to confirm. A few minutes of documentation can prevent a frustrating reassembly mistake.
After The Pads Are Installed
Pump the brake pedal before moving the UTV so the pads seat against the rotors. Confirm the reservoir level is within the correct range, check for fluid leaks, and make sure the pedal feels firm. Reinstall wheels and torque fasteners in the pattern recommended by the manufacturer.
- Start with a slow roll test in a clear area.
- Listen for scraping, grinding, or hardware contact.
- Recheck wheel torque after the first short ride if your manual recommends it.
- Inspect for heat smell or dragging brakes after bedding.
Why This Matters For Safety
UTVs often carry passengers, tools, hunting gear, or towing loads on uneven terrain. A small brake mistake can become serious on a downhill trail or when a loaded machine needs to stop quickly. If anything feels wrong after the repair, stop riding and diagnose it before normal use.
Maintenance Record Tip
After the job, record the date, mileage or hours, pad brand, rotor condition, and any fluid work. This makes the next inspection easier and helps a future buyer understand how the machine was maintained. If the UTV is used commercially, on a farm, or for hunting trips far from the trailer, keeping simple service notes is worth the few minutes it takes.
Brake work should also be paired with tire and suspension inspection. Uneven tire pressure, worn wheel bearings, loose suspension parts, or overloaded cargo can change braking feel. If the vehicle still does not stop straight after fresh pads and proper bedding, keep diagnosing instead of assuming the repair is complete.

