

Editorial collection: October 2026. Collection month is an editorial label; the page retains its actual first-publication date.
Featured photograph: Archival Honda Talon reference photograph; verify the actual year and intake configuration before applying the 2021 manual. Tomás Del Coro from Fabulous Las Vegas, Nevada, USA / Wikimedia Commons / CC BY-SA 4.0. Resized and converted to WebP; photograph retains its stated license.
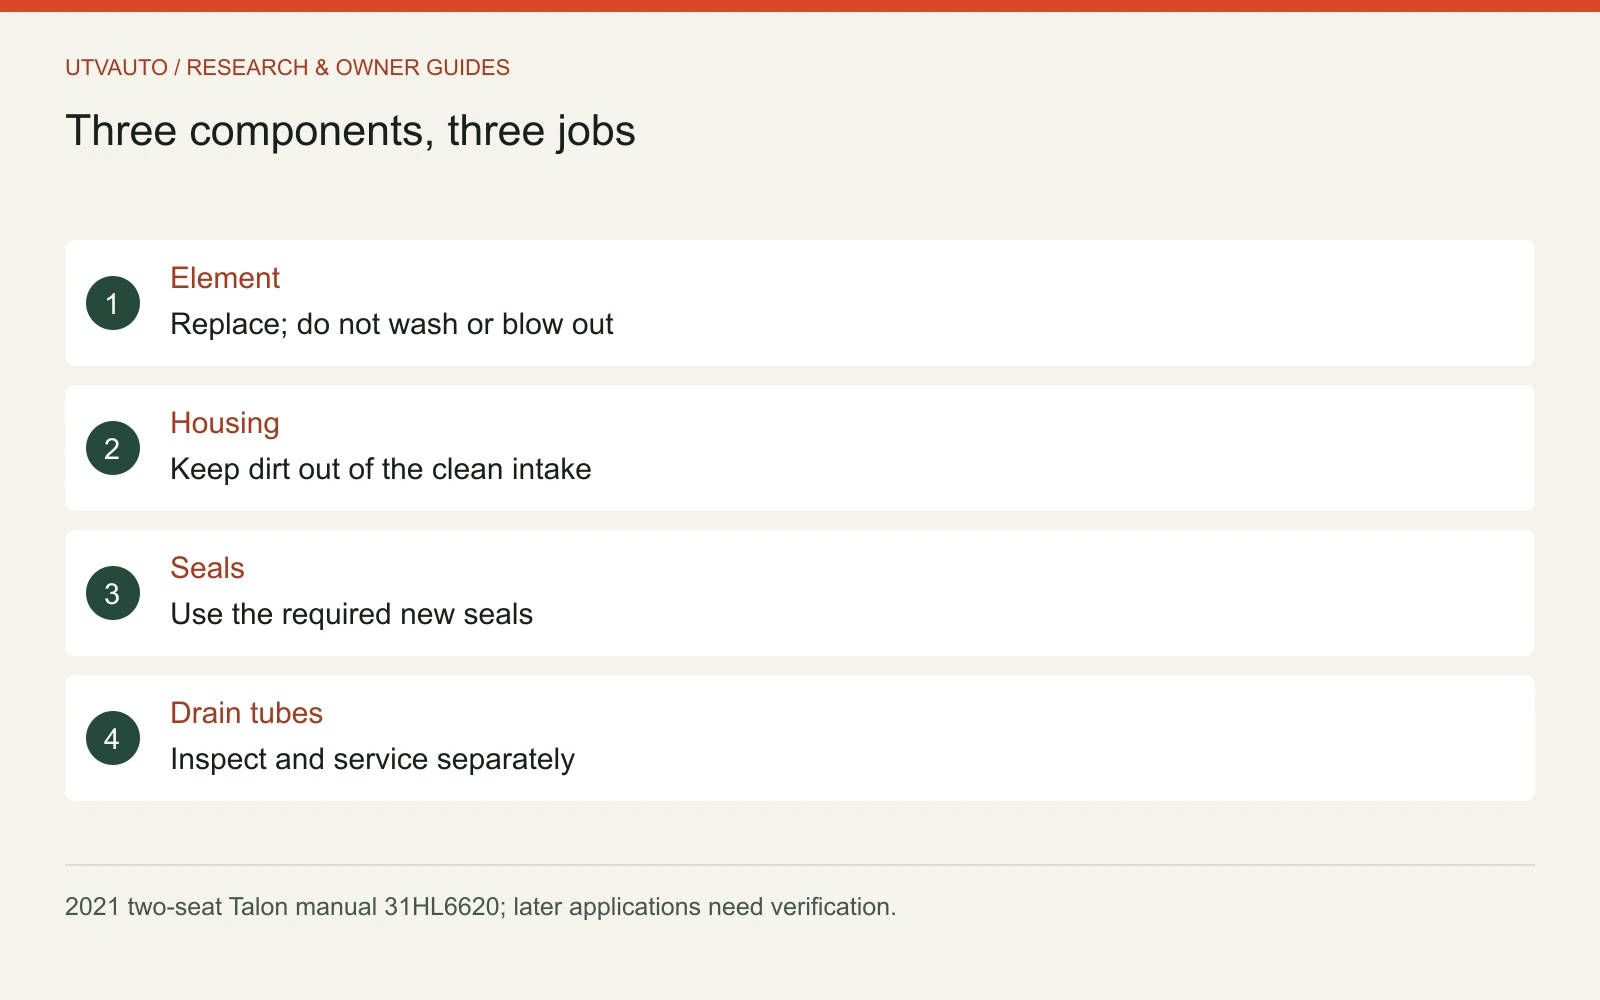
For the 2021 Honda Talon 1000 two-seat models covered by manual 31HL6620, the original viscous-type air cleaner is a replacement item. Honda says compressed air or chemicals degrade its performance. Do not apply a washable foam-filter cleaning routine to this element.
This guide covers SXS1000S2R/S2RD/S2X/S2XD as identified in Honda’s official 2021 owner’s manual. Later years, four-seat models and aftermarket intake systems require their own instructions. A filter that fits physically is not automatically an approved substitute.
Separate three different maintenance jobs
| Component | What the 2021 manual requires | Common mistake |
|---|---|---|
| Air cleaner element | Replace with the specified new element or equal-quality application | Blowing it out or washing it as if it were reusable foam |
| Housing and cover | Clean before opening; prevent contamination of the intake | Dropping loose dirt into the clean side |
| Housing drain tubes | Service both clean-side and dirty-side tubes | Confusing tube service with filter replacement |
Source: Honda manual printed pages 164–168. Wet or dusty conditions require more frequent attention. The housing drain-tube interval is 600 miles (1,000 km) or 100 hours; water use may require more frequent inspection. That number belongs to the tubes, not a universal air-filter replacement interval.
Prepare before opening the airbox
Park securely, stop the engine and follow the manual’s safety precautions. Have the correct element and required housing and cover seals ready before disassembly. Clean the outside of the cover first so loose dirt does not fall into the intake when the cover comes off. Do not run the engine with the intake open.
Honda’s replacement instructions distinguish screws that are loosened from screws and collars that are removed. Use the manual’s drawing to identify them rather than forcing the assembly. Keep removed hardware organized. If fasteners are damaged or the housing is cracked, stop and arrange repair; a new element cannot seal a broken housing.
The seal is part of the service
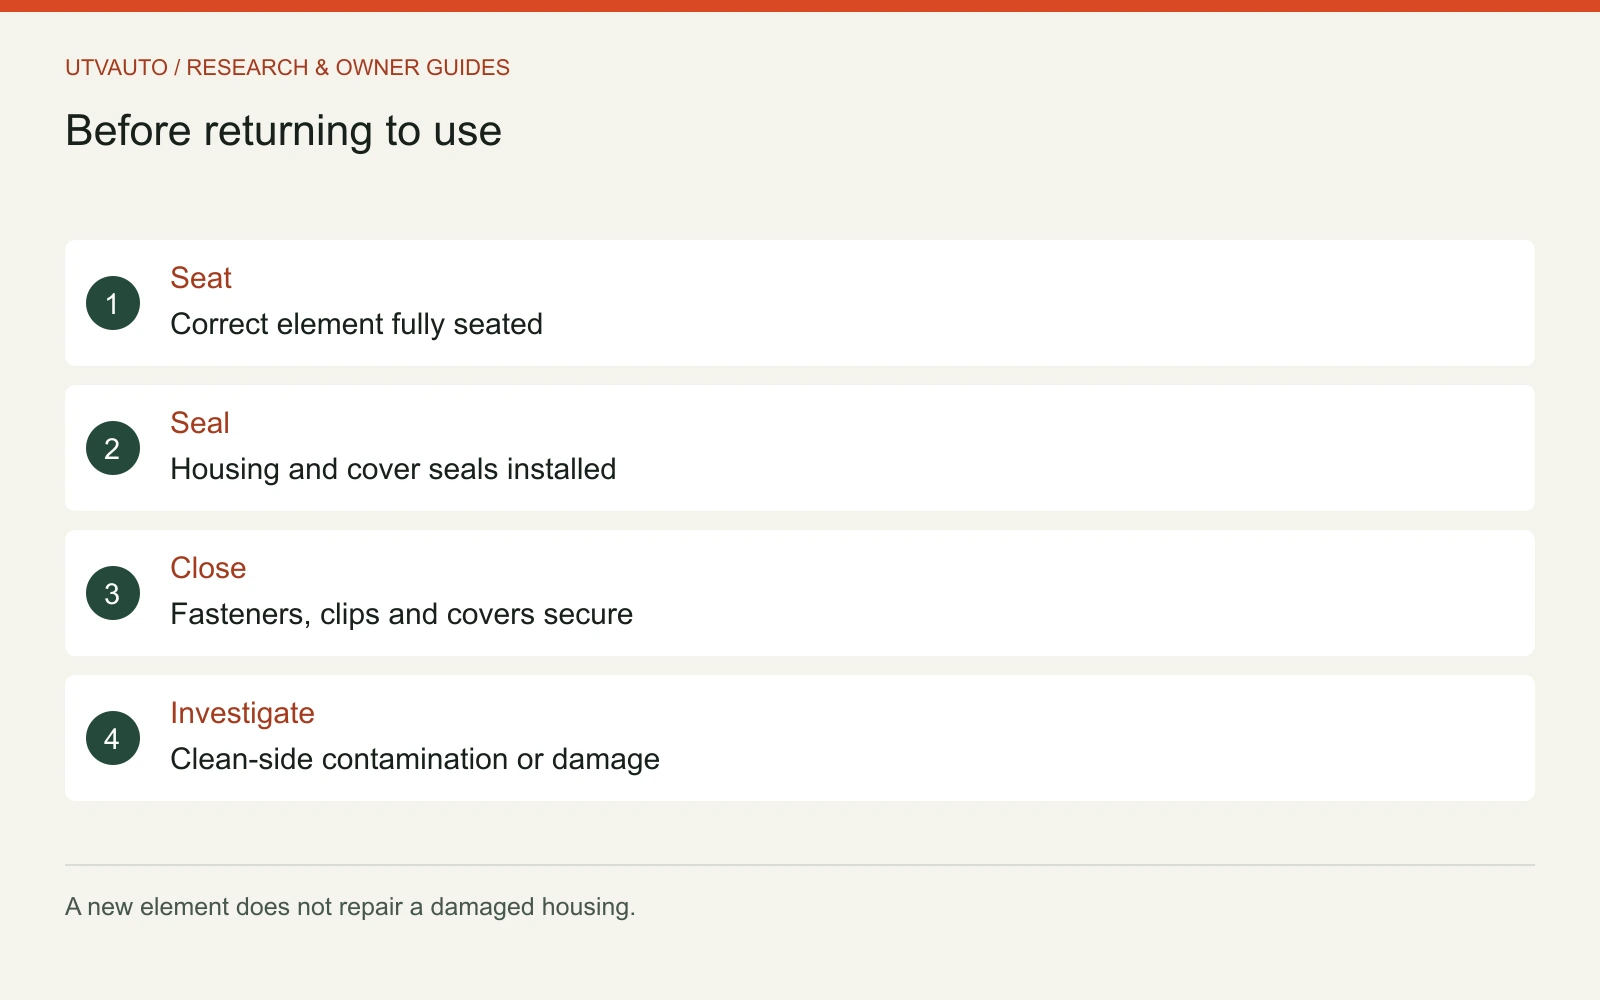
The manual calls for new housing and cover seals during replacement. Confirm the element is seated correctly and the seals sit in their grooves before closing the housing. For the identified element screws, Honda specifies 5 N·m (3.7 lbf·ft). This is not a torque value for every airbox fastener or a later model.
Use a suitable torque tool and the full matching procedure. An overtightened small screw or displaced seal can create a new problem. If you cannot identify the correct parts or achieve the specified installation, have a qualified technician complete it.
What contamination should change your plan?
Dirt on the clean side, water where it should not be, a displaced element or damaged sealing surfaces deserves investigation before further riding. Record what you see and avoid blowing debris toward the engine. Ask a technician to assess suspected intake contamination instead of assuming a fresh filter removes any resulting risk.
Inspect the two drain tubes as distinct components. Honda says visible deposits in the dirty-side tube must be cleared before starting. Collect deposits appropriately and reinstall the plugs, clips and clamps according to the manual. An open drain or loose cover is not an acceptable finished state.
A useful service record
- Record exact year/model, element and seal part numbers, date, miles and hours.
- Note dusty group rides, unusually wet use and observed tube deposits.
- Verify cover clips, outer cover and all removed parts are secure before operation.
- Keep the invoice and any technician findings with the vehicle records.
Use the pre-ride checklist between scheduled services. Filter maintenance and winter storage preparation are different tasks; neither replaces the other.


