
Editorial collection: November 2026. Collection month is an editorial label; the page retains its actual first-publication date.
Featured image: original UTVAUTO diagram. Supporting sources and the scope of the illustration are explained below.
On the covered 2026 Polaris RZR XP / XP 4 / XP S / XP S 4, belt inspection and replacement require a fully cooled vehicle, safe parking, removal of the PVT cover and use of the supplied clutch spreader. The procedure is platform-specific: do not transfer it to a Pro XP, Turbo R or Pro R merely because all carry the RZR name.
This guide follows Polaris manual 9942079, section 7.7.10.1 and adds a preparation and completion checklist. Keep the full manual and its component drawings available. It is not a clutch-rebuild or water-ingestion repair procedure.
Prepare the vehicle and parts
- Park on a flat, level surface, select PARK, stop the engine and remove the key. Let the vehicle cool completely.
- Confirm the correct belt application and have the vehicle’s clutch-spreader tool, suitable hand tools and torque tool ready.
- Remove accumulated engine-compartment debris before opening the system.
- If a belt failed, plan to remove all debris from the cover, clutch area and outlet duct; a quick belt swap is not a complete repair.
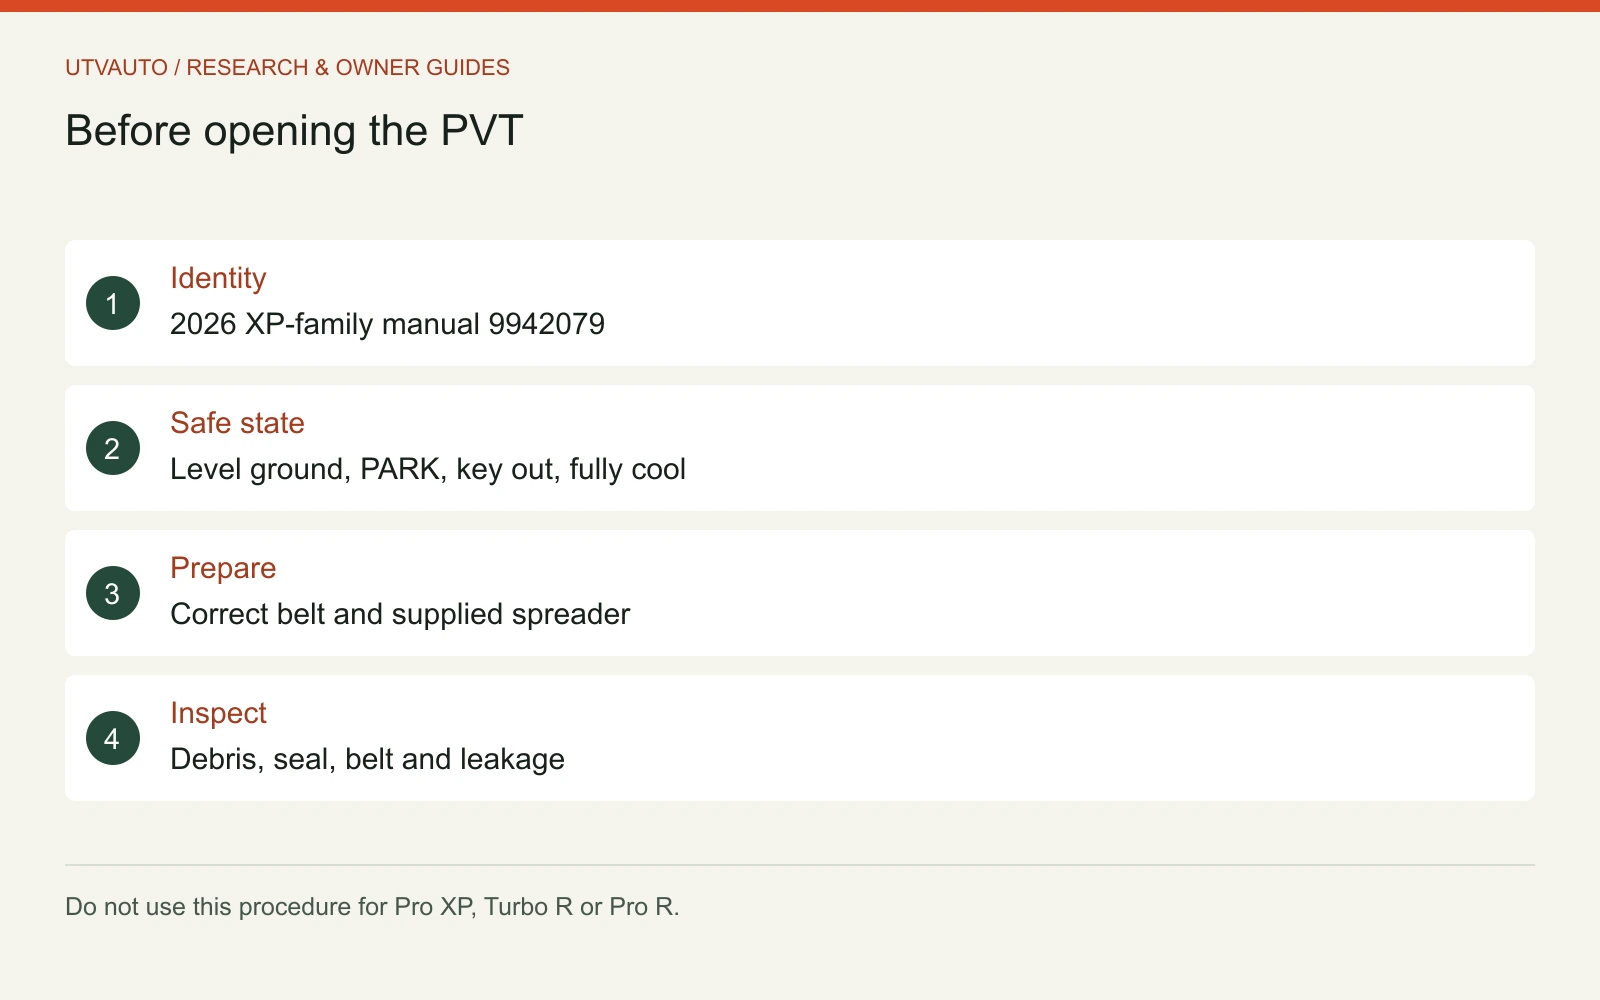
Access and inspect before fitting another belt
The manual identifies the inlet-duct clamp at the driver-side rear wheel well and 14 retained clutch-cover fasteners. Disconnect the duct and remove the cover using the illustrated maneuver around the shock and frame. Normal ride height or lower provides the described clearance; do not force the cover against surrounding parts.
Inspect the cover seal and replace it if damaged. Note the original belt’s direction if it will be reused. Polaris describes inserting the supplied spreader into the driven clutch and turning it clockwise to open the sheaves, then working the belt off the driven and drive clutches. Use the full drawing to identify the correct components; do not pry against a clutch with an improvised tool.
Look for the reason the service is needed
Fraying, loose cords, missing cogs, burns, hour-glassing and other damage warrant replacement. Clean the cover interior and surrounding area thoroughly. The manual notes that oil leakage may indicate debris trapped behind the clutches. If debris cannot be removed, oil is present or clutch damage is suspected, stop and obtain qualified service.
Do not dismantle clutch assemblies or spray an unspecified chemical into the system to conceal contamination. A belt is a wear component, but repeated failure can signal an unresolved operating, installation or mechanical issue. Record the damage and conditions rather than assuming another belt alone solves it.
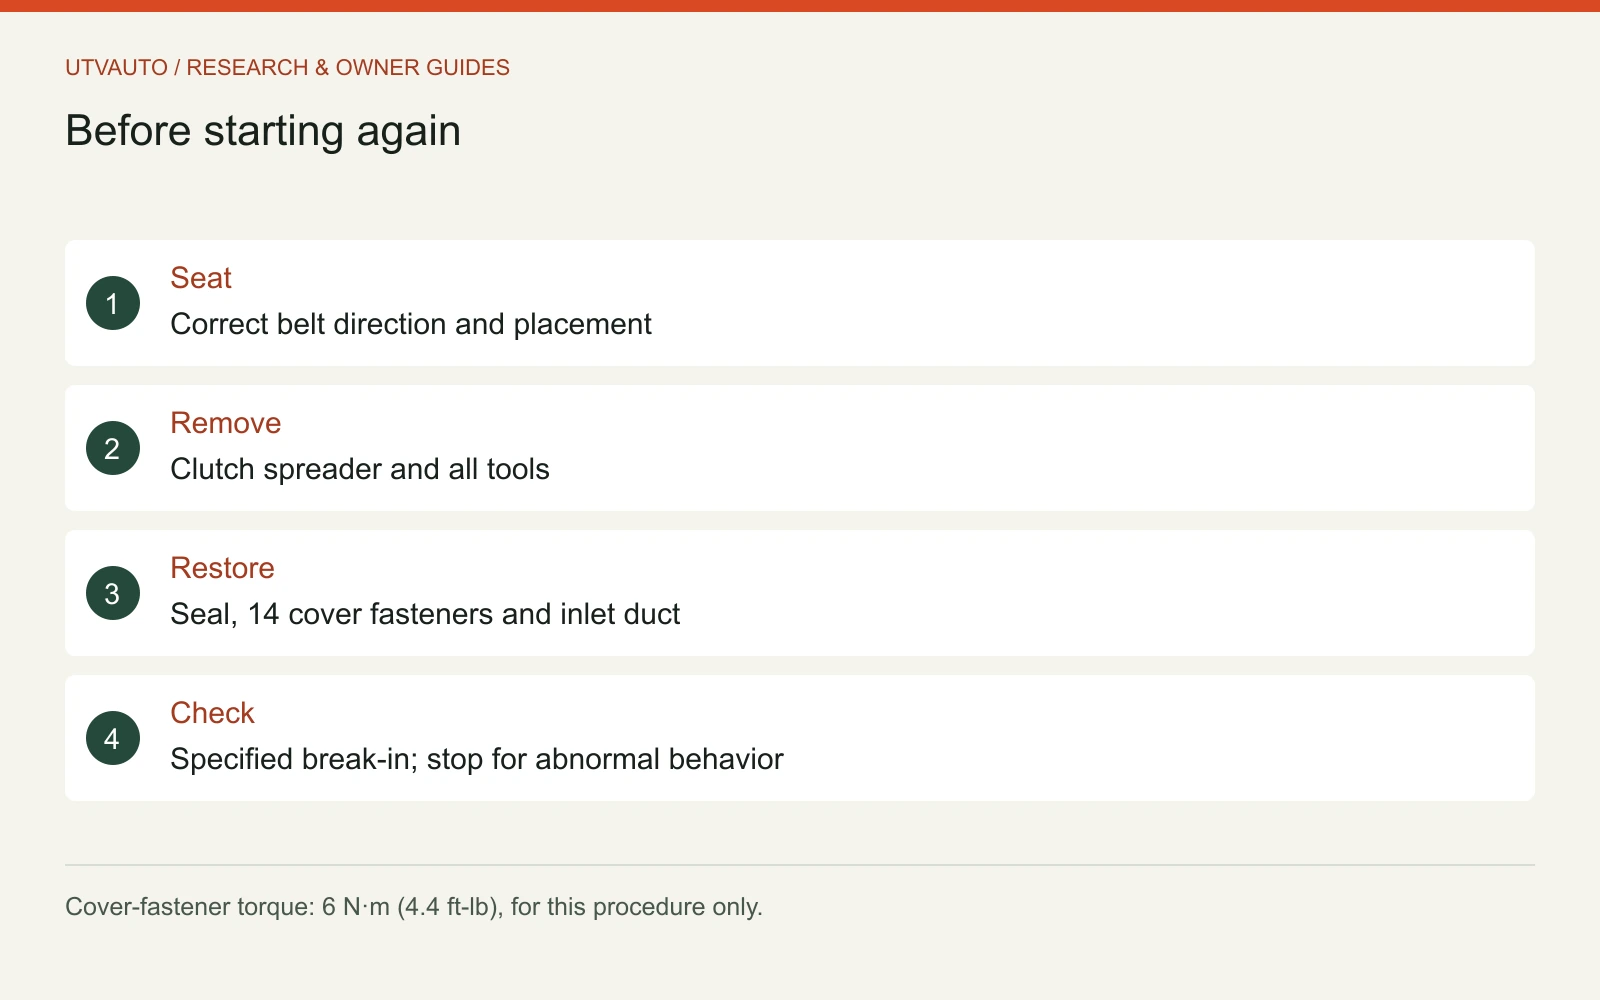
Reassembly checks that matter
For a new belt, the manual calls for its part-number marking to face outward. A reused belt must retain its previous direction. Follow the illustrated placement over the drive and driven clutches, then remove the spreader. Polaris specifies rotating the clutch five to seven turns to seat the belt before closing the cover.
Reinstall the cover without trapping its seal. The specified torque for these 14 cover fasteners is 6 N·m (4.4 ft-lb). It is not a clutch-bolt torque or an instruction for another RZR platform. Reattach and fully seat the inlet duct as directed. Account for every tool before operation.
Before and after returning to operation
- Verify the spreader is removed, the correct belt is seated and all cover hardware and ducts are restored.
- Keep the cover installed for operation; never run an exposed clutch system as an inspection shortcut.
- Follow the matching new-belt break-in and operating instructions rather than inventing a universal mileage rule.
- Stop for abnormal noise, smell, slipping, warning indications or a new leak. Arrange inspection instead of repeating a failed test.
The CVT belt-care guide covers prevention and operating questions beyond this replacement task. Inspect intake obstructions and follow the model’s range-selection advice, especially for slow heavy work. If water entered the system, use the separate exact-model drying and service instructions; do not treat this dry belt-change guide as a complete water-ingestion remedy.

